|
Note: An
MLC 104 IP Plus is included as
the controller in all PoleVault® Systems.
If you
are installing a PoleVault System use this page and the subsequent pages
to configure the MLC 104 IP Plus controller. |
|
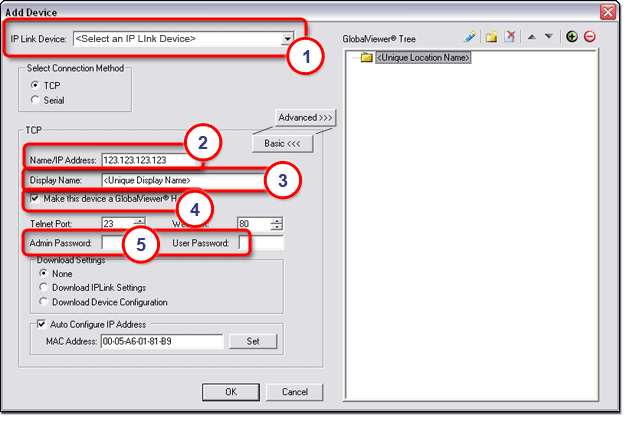
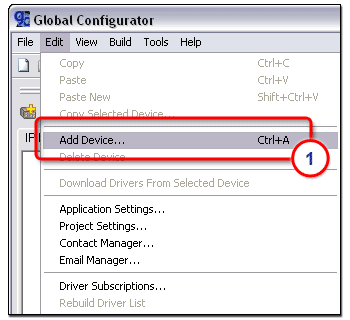
There are three ways to launch the Add Device dialog box:
|
|
|
With the Add Device dialog box open (see below):
|
|
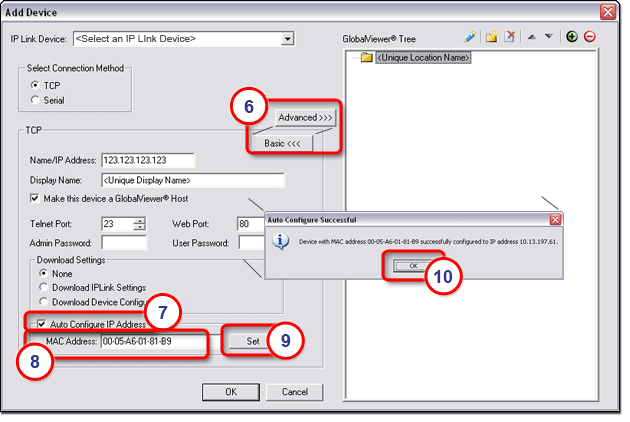
With the Add Device dialog box still open (see below):
The Auto Configure Successful dialog box is displayed.
|
|
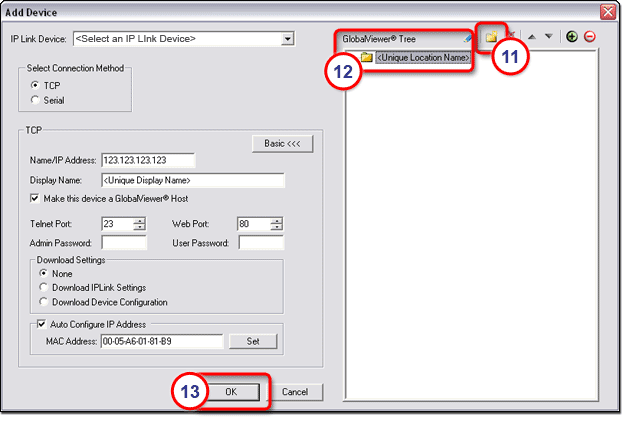
With the Add Device dialog box still open (see below):
The Add Device dialog box closes. |
![]()
|
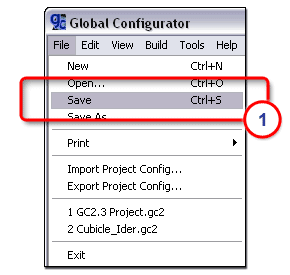
To Save the project file:
|
|
![]()
|
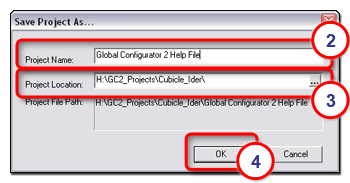
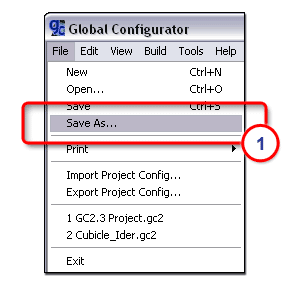
To Save As... the project file:
|
|
|
The Save Project As... dialog box opens.
|
|
![]()
 ) to the desired new location.